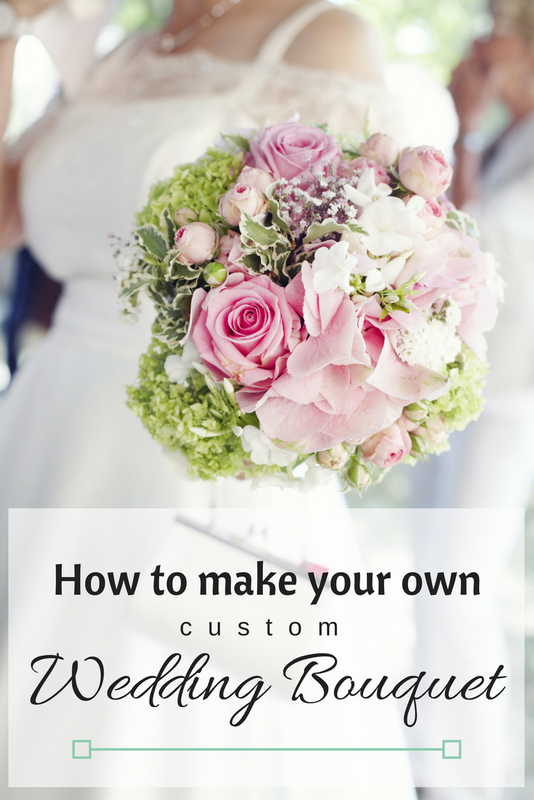
How to Make Your Own Customized Wedding Bouquet
Aug 24th 2017
Planning a wedding can get pretty expensive, especially if you buy your wedding accessories pre-assembled. If you want to save some money and you're feeling a little adventurous, why not go DIY? In this tutorial, we will show you how to make your very own wedding centerpiece from scratch. It's easy, it's affordable, and best of all, you can customize it any way you like. Let's get started!
You Will Need:
- A variety of silk flowers of your choice
- Artificial moss
- Ribbon (we used wide white satin ribbon)
- Cutters
- Pearl-head straight pins and/or glue
- Floral tape

Step 1: Begin with your center flower and add your other floral pieces one-by-one until you are happy with your bouquet arrangement.
Tip: keep in mind to evenly spread out flowers based on their size, color, and texture for a more uniform look.

Step 2: Once you are finished adding your flowers, bunch all of your stems tightly and prepare for wrapping.

Step 3: You may choose to begin by using floral tape underneath your ribbon for extra hold; this is a matter of personal preference. Otherwise, grab your white satin ribbon and begin wrapping the ribbon tightly, just under the bulk of your bouquet. Continue downward, wrapping in a tight, diagonal manner towards the bottom of the stems.

Step 4: When your bouquet handle is as long as you would like it, simply tuck or pin the ribbon in place (add some glue for extra hold).

Step 5: Next, trim your excess stems to your desired length.

Step 6: Lastly, tie your bow to the bouquet handle just underneath the flowers, and you’re all set!


Need help with decorating tips? Choosing the right tree?
Christmas Central Resources

