How to Set Up a Christmas Village
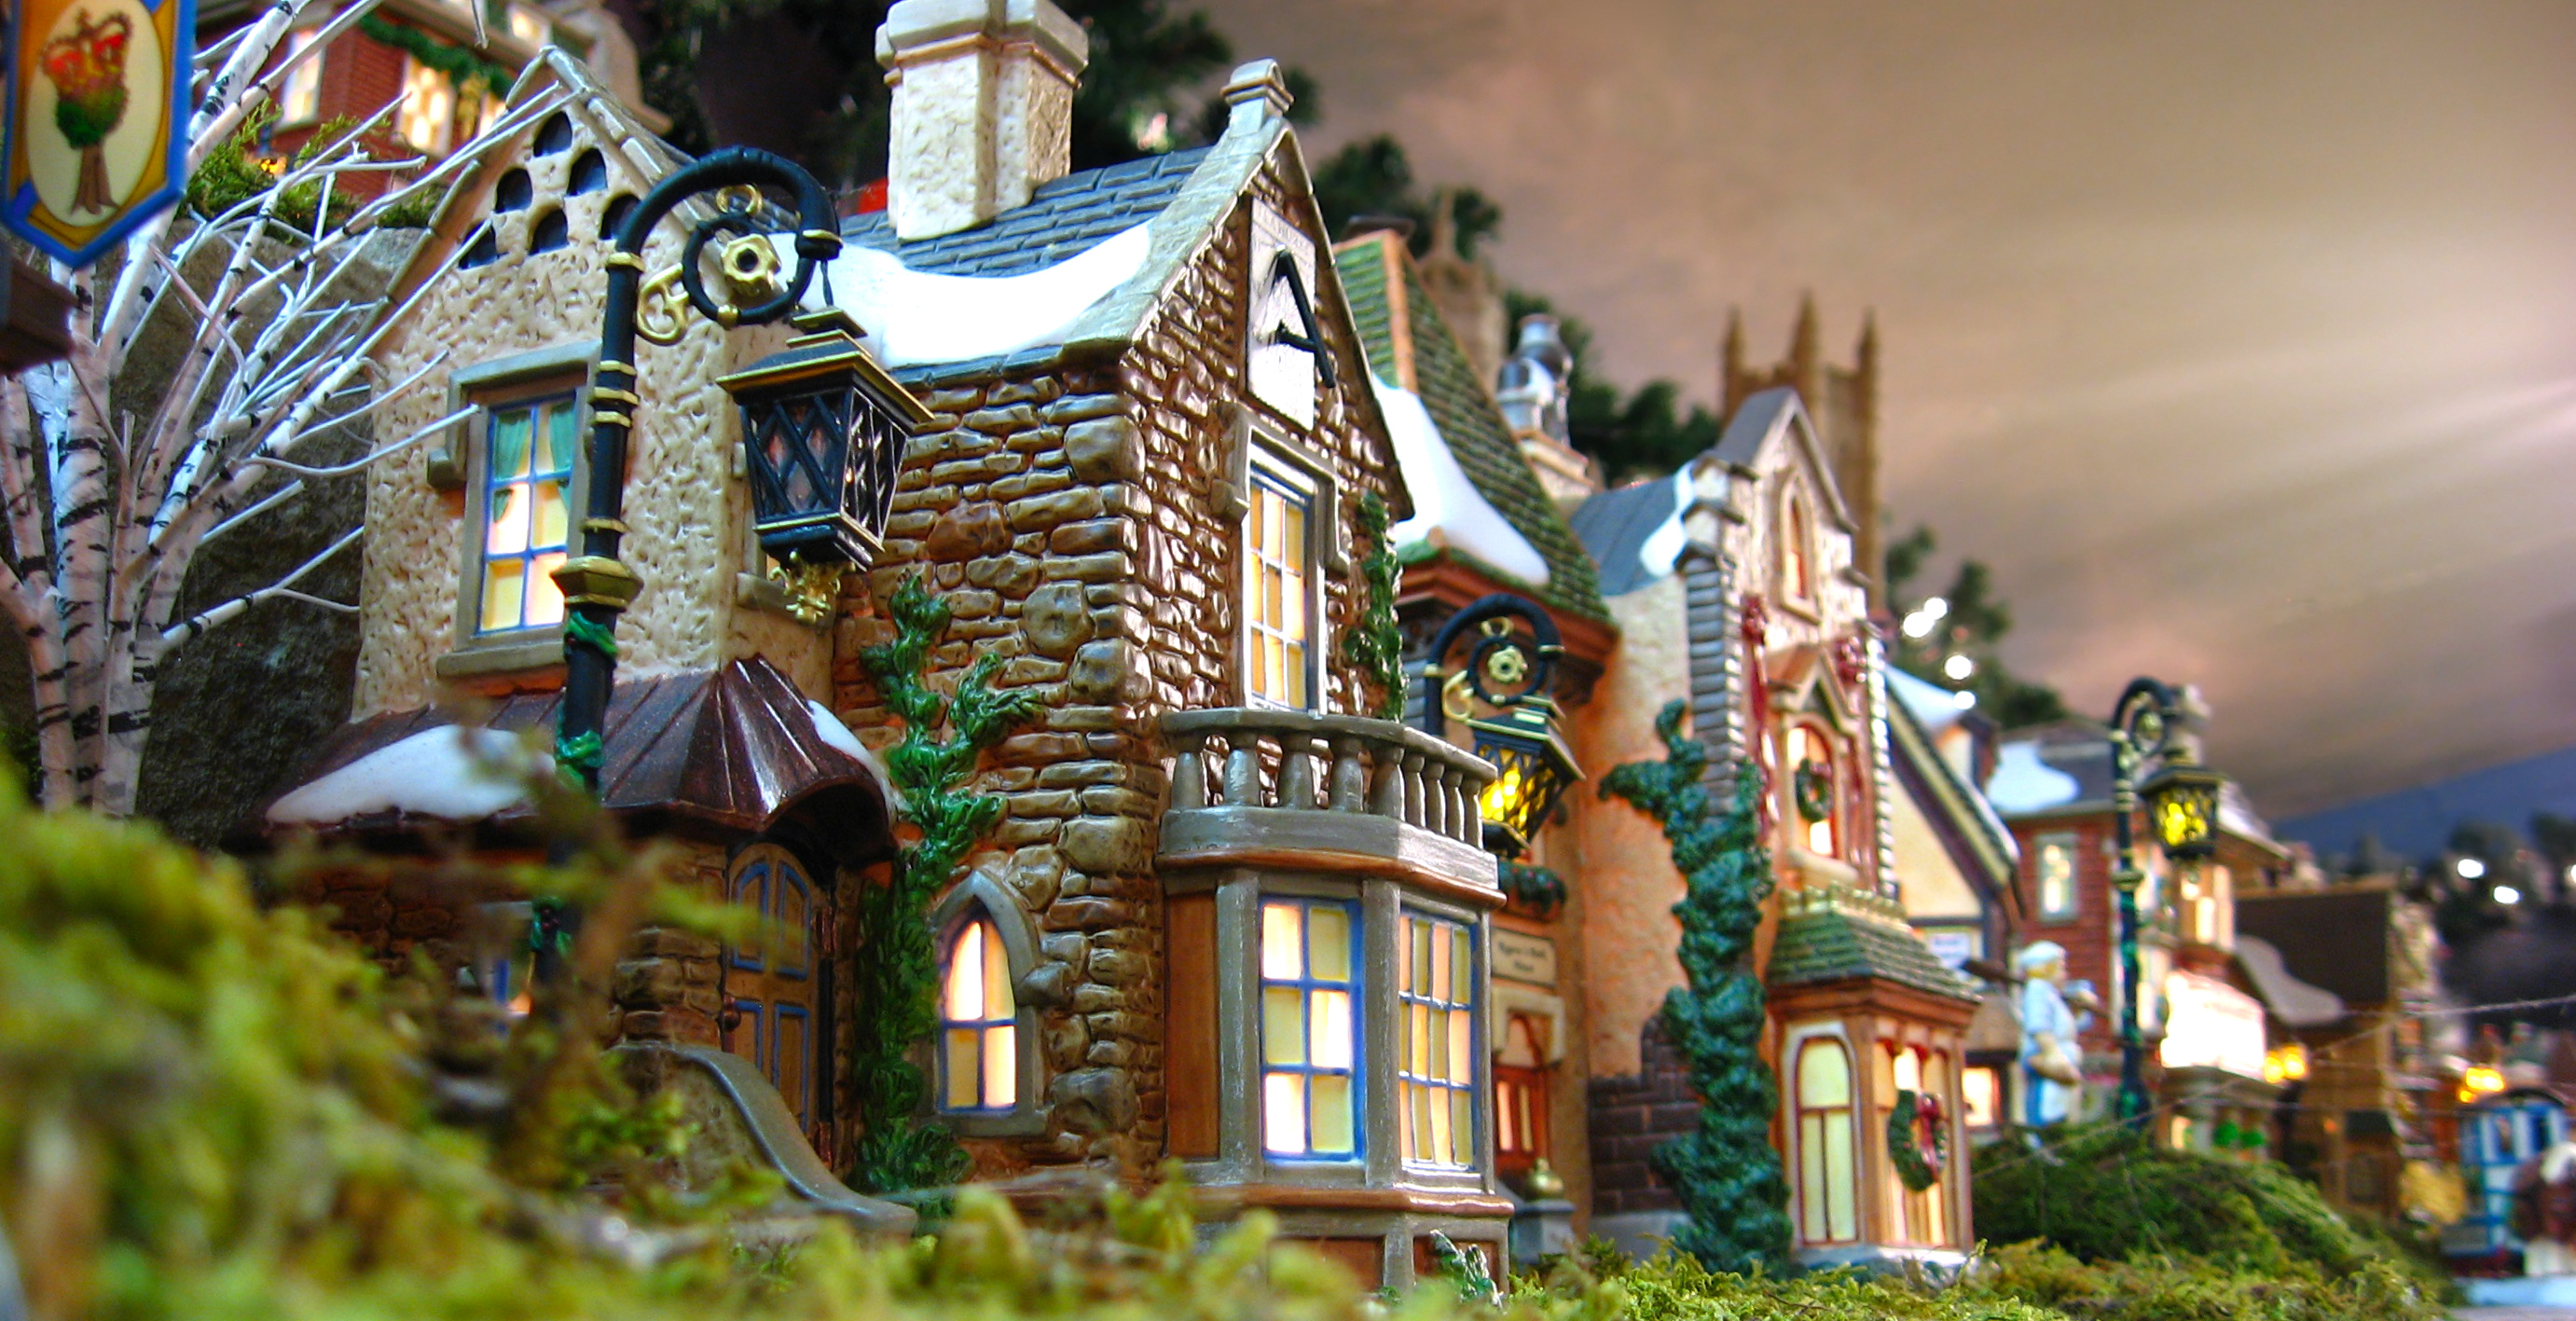
Setting up a Christmas village display can be a joyous expression of holiday cheer. Whether you prefer a classic ceramic Christmas village or a more minimalistic approach, you have so many choices.
Often, new Christmas village (and Halloween village) pieces are introduced each season, enabling you to add to your Christmas village set year after year. Keep things simple, or let your village continue to grow.
You are free to design your village any way you like. However, when faced with the infinite variations Christmas village displays provide, a few simple guidelines can be helpful.
Planning Your Christmas Village
Location:
Some Christmas villages can be quite elaborate, requiring a large area for display. However, limited space should not limit your aspirations to create an attractive village. Consider some of these Christmas village display ideas:
- On a fireplace mantel
- In a wreath
- On a bookcase
- In a bay window
- Up a staircase
- On top of the piano
- Inside a roll-top desk
- As a dining table centerpiece
- Under your Christmas tree
If you have Christmas village buildings that need to be plugged in, make sure you have easy access to an electrical outlet, surge protector, power strip or multiple outlet extension cord.

Layout:
Start by plotting out your Christmas village. A paper or digital layout enables you to move pieces freely until you are happy with your design. Measure the area in which you want to display your village and use graph paper or digital ruler lines to ensure your layout remains to scale.
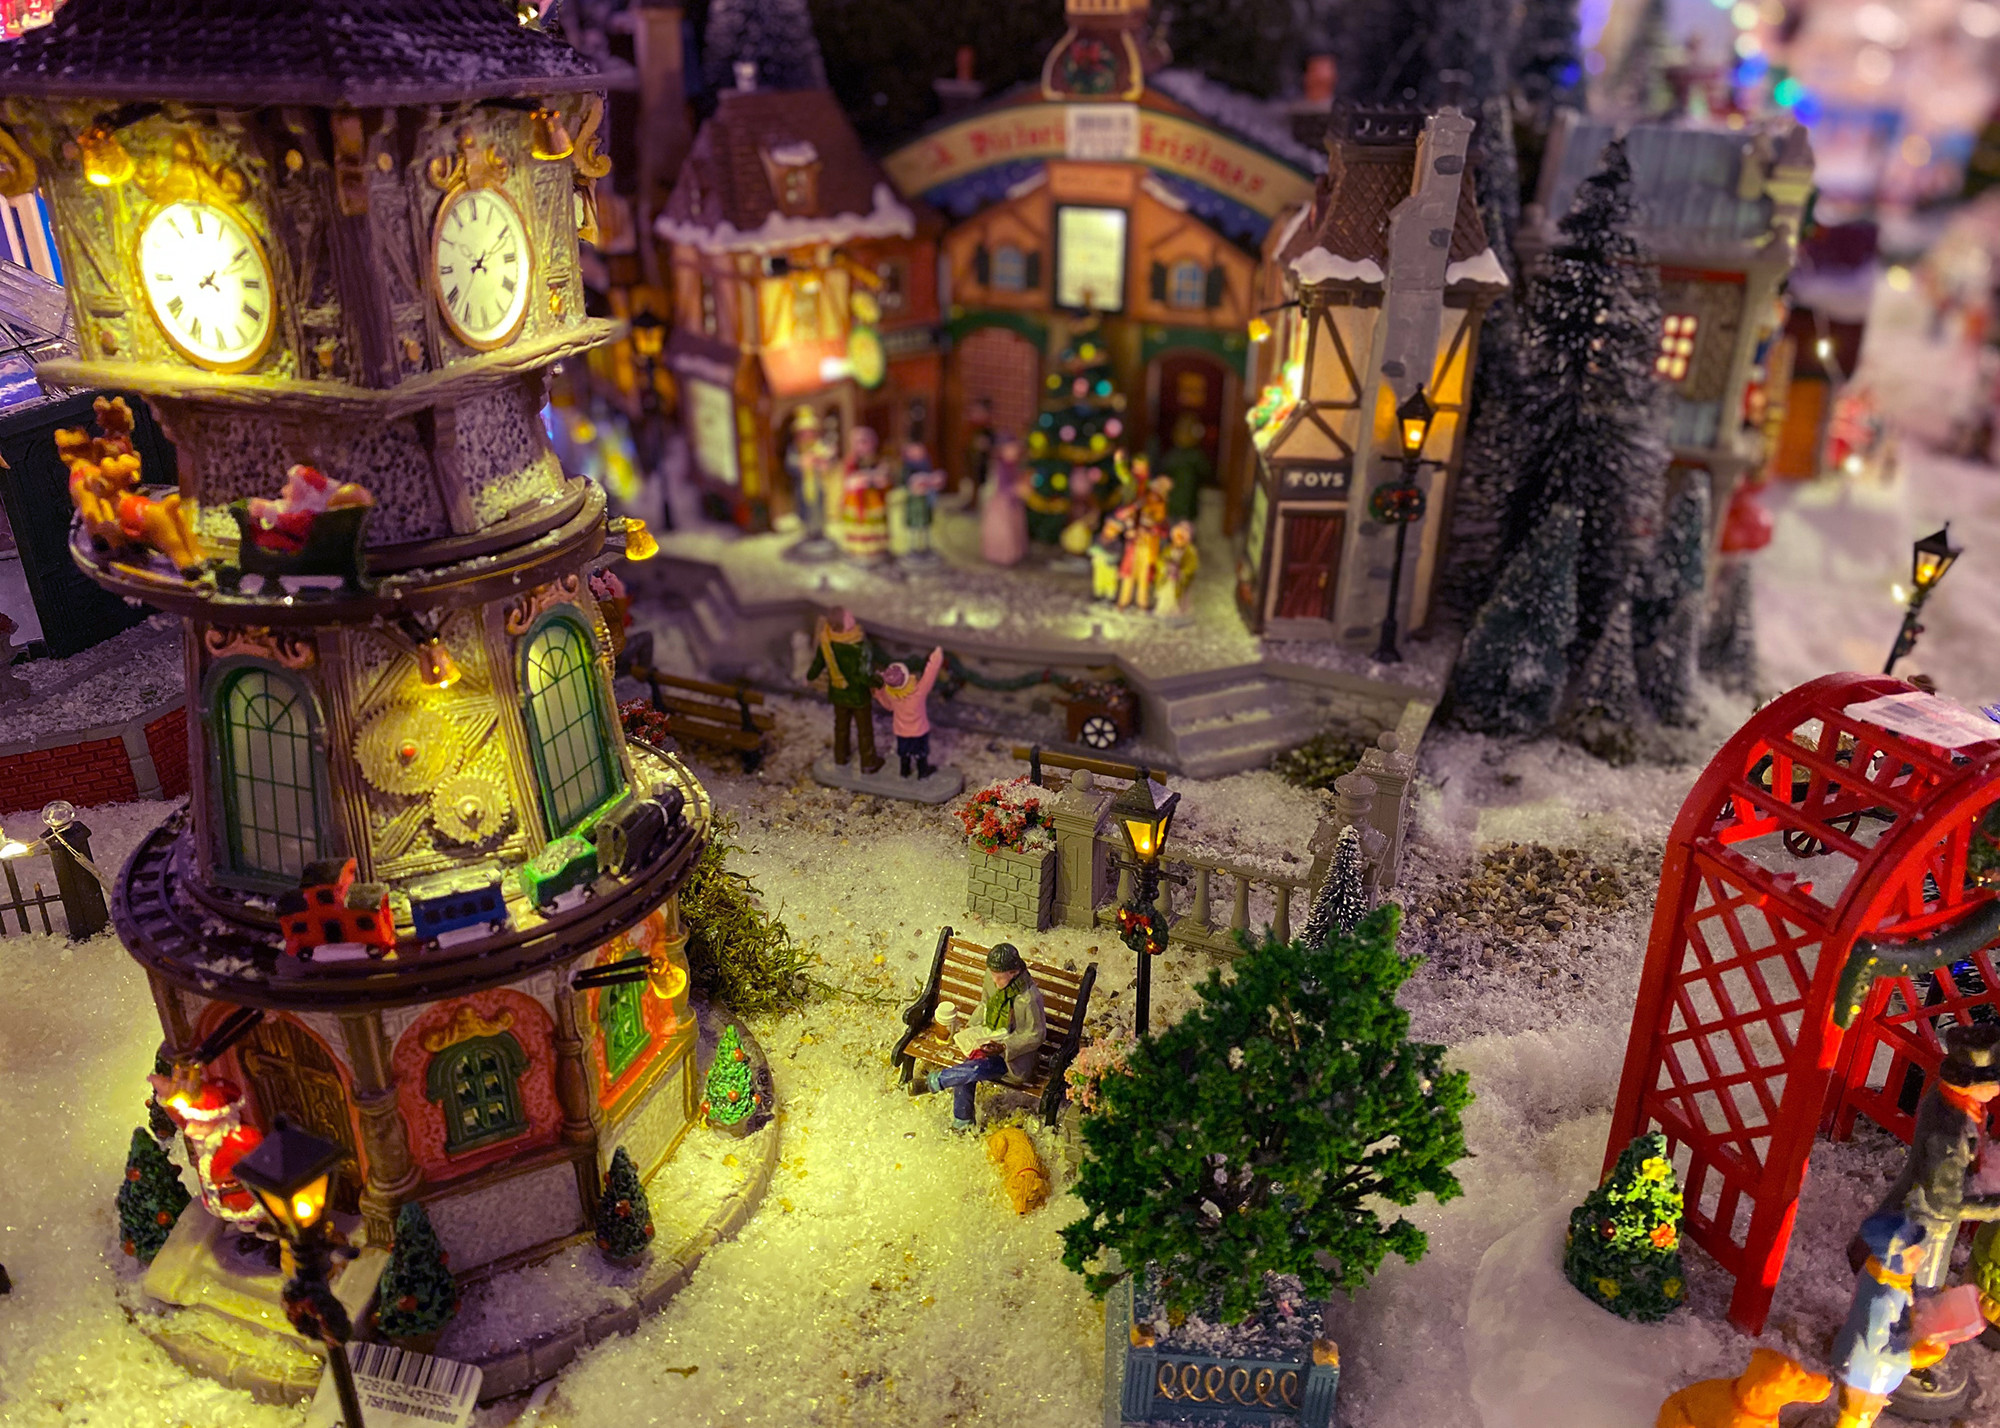
Decide whether you want to group certain pieces near one another - businesses on Main Street and homes in a residential area, for instance. Also consider where you will place Christmas village accessories like ice skating ponds, roadways and other large pieces.
One popular layout configuration features a miniature Christmas tree in a town square setting as its focal point, with Christmas village houses arranged around it. However, depending on the size of your collection, you can also scatter pieces throughout your home for a less formal display.
Are there any features of your Christmas village buildings that you particularly want to show? Make sure you situate these buildings on your layout so they appear to their best advantage.
Next, plan your full-size layout. Trace outlines of the bases on paper and label each with the name of the corresponding village piece. Use your paper or digital design to lay out the paper templates, adjusting building positions if necessary.

The Base:
Many people use a styrofoam or plywood base for their display, but your choice depends on the size of your village and how in-depth you’re willing to go with your design. Christmas villages are just as beautiful spread out on a tabletop covered with white felt or beneath your Christmas tree.
You can create a multi-level display by elevating some of your buildings using small boxes (even the box you store it in!), blocks of styrofoam or wood. Don’t worry how your under structure looks; it will eventually be covered. Placing a lower table in front of your display also helps create the look of an elevation or slope.
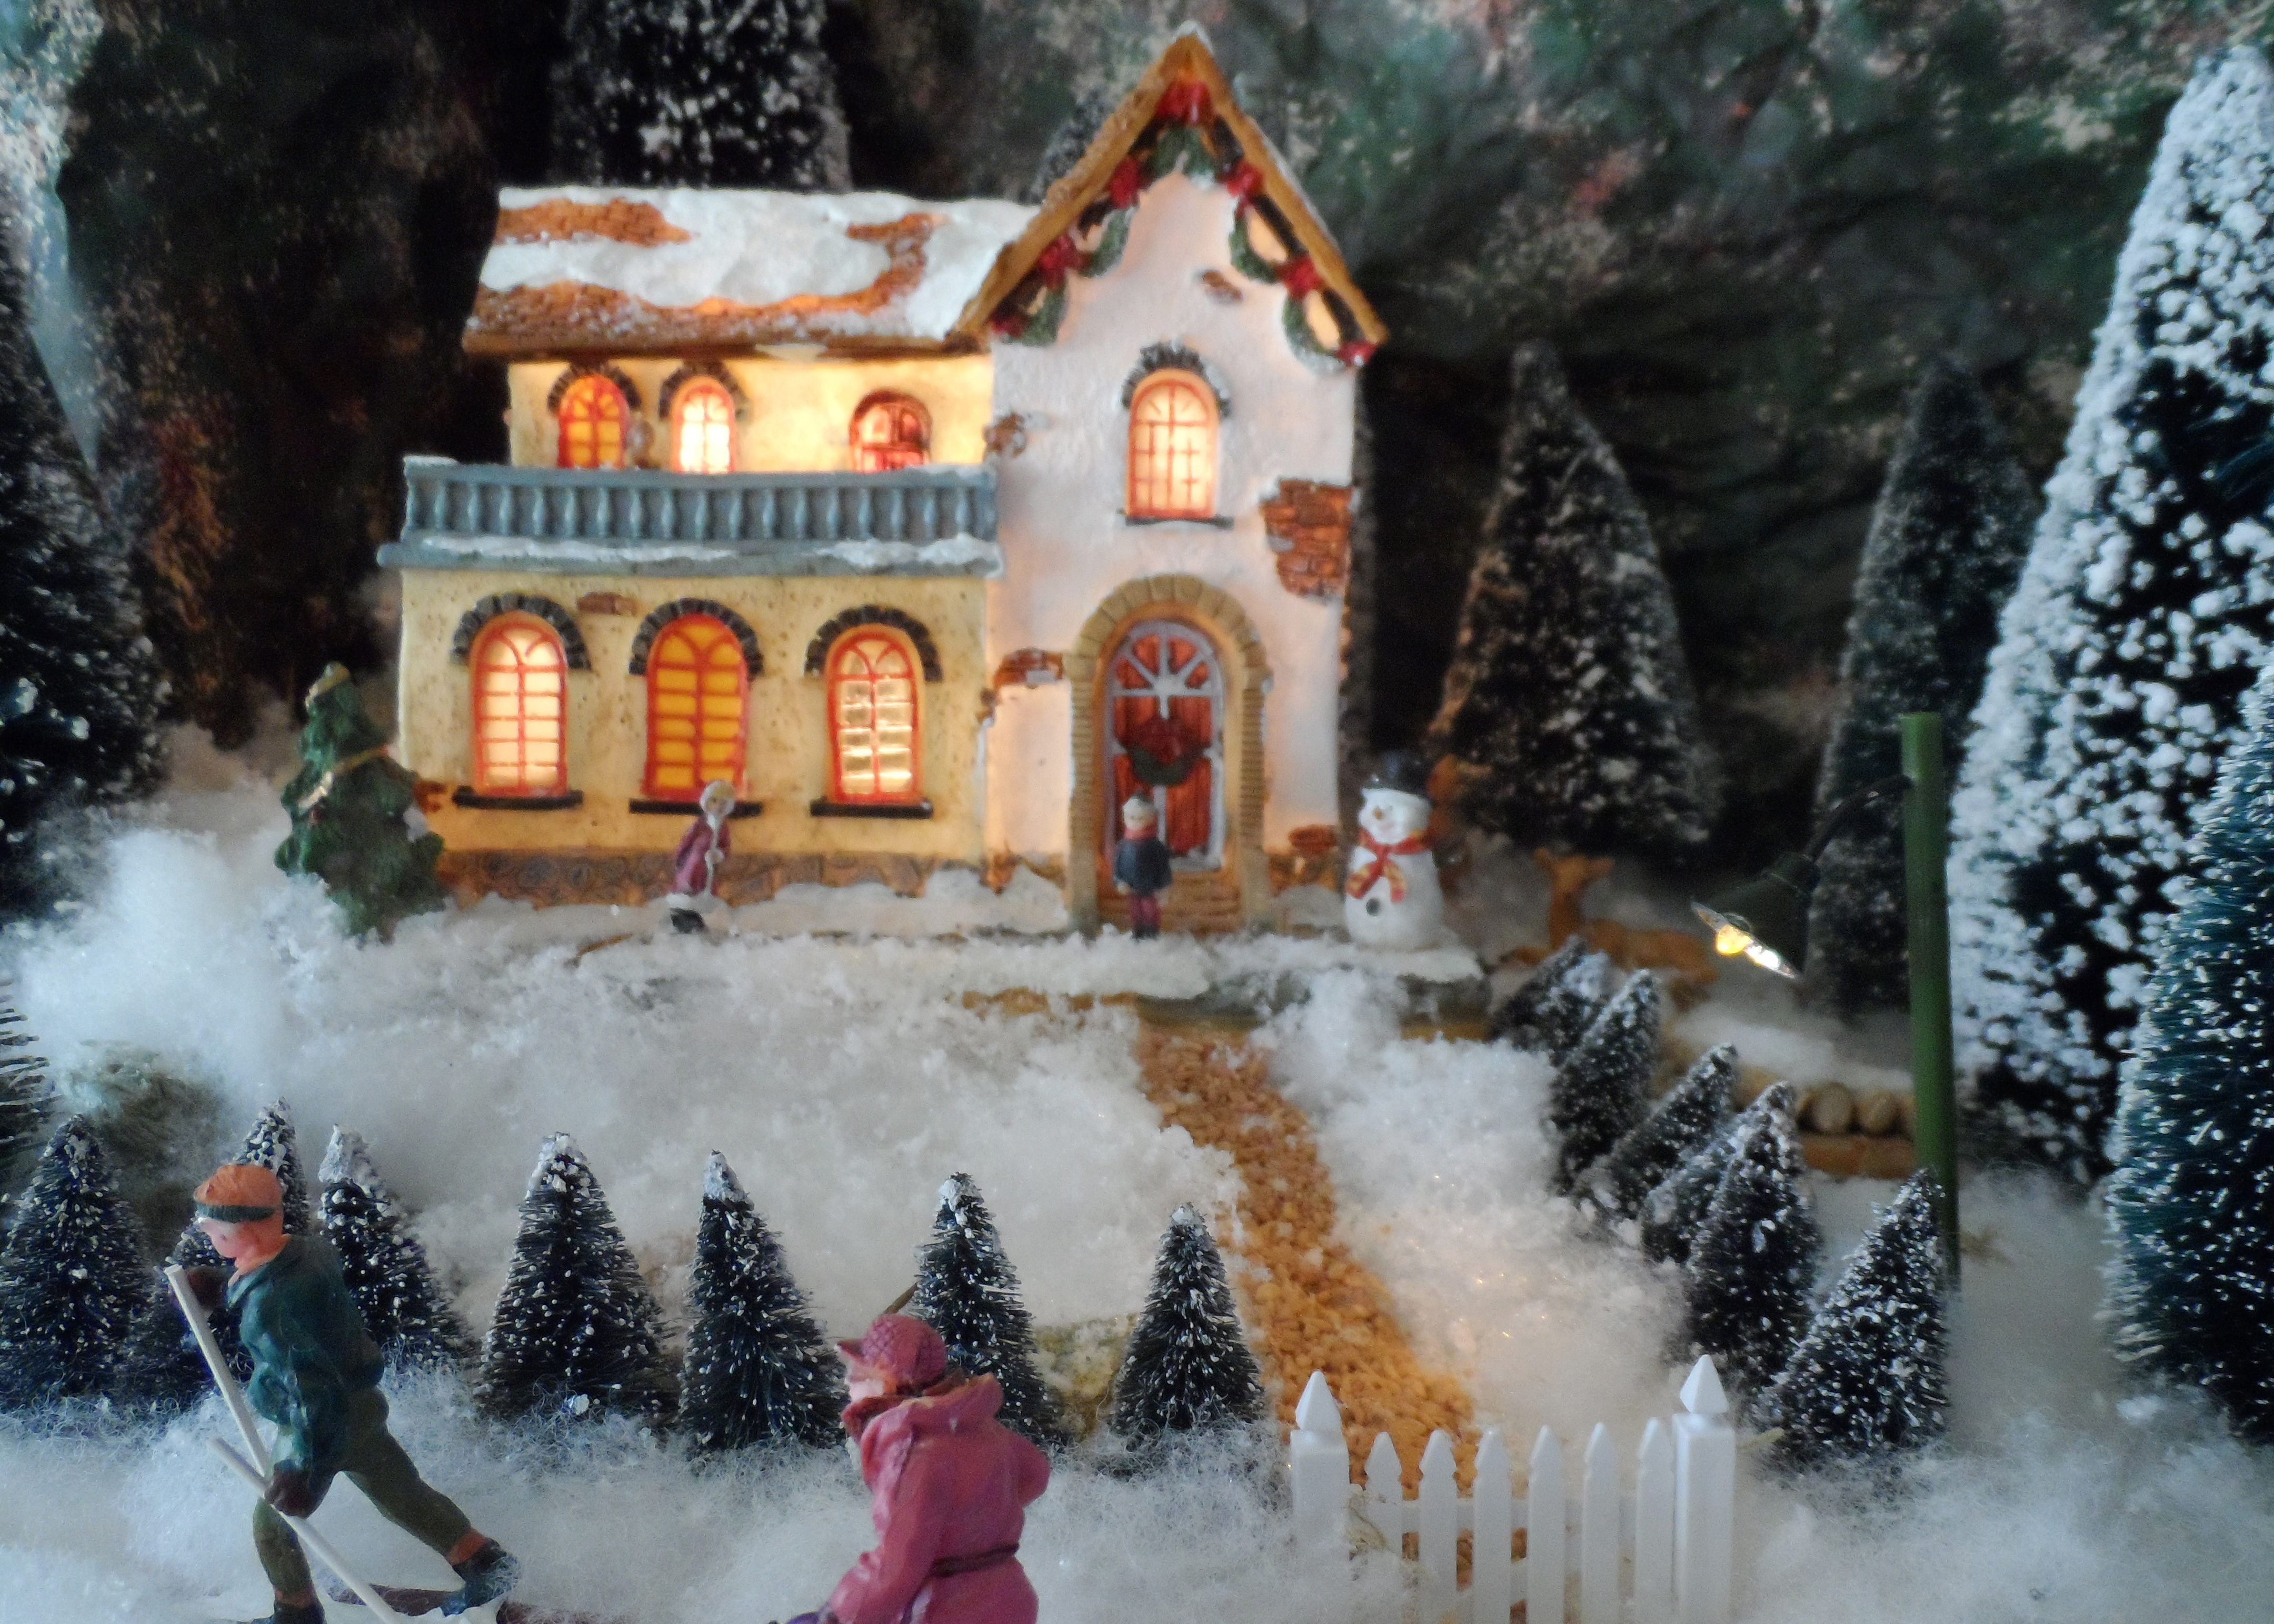
Once you have your base structure in place, you can cover it with a white cloth, sheet or artificial snow. You can even twine a strand of white lights beneath the cloth to create a soft glow.
Backdrop:
Give your Christmas village a finished look by creating a backdrop for your display. It could be a cloud-filled sky, mountain range, city skyscrapers or a forest of evergreen trees. If your village feels small, borrow this decorator trick: Place a mirror behind the layout to magnify the scene.
The Buildings:
After you've created a base and backdrop, it’s time to add your buildings. Make the most of each building’s unique features by allowing room between them. You can hide the electrical cords for lighted buildings using artificial snow or the base cloth.
Accessories:
Keep your Christmas village from looking abandoned by adding accessories, including people, snowmen, park benches, vehicles, trees and all the other little things that inhabit village streets in the winter. Separate houses with fences decorated with fairy lights and tiny wreaths.
Add extra charm to your display with roads, paths and walkways, choosing materials that add color and texture. Sawdust or straw can be used as a ground cover near farm buildings, while small stones or even fish tank gravel works well for quaint country roads.
For a finishing touch, consider using spray-on snow on the branches of the trees. Add layers of cotton batting or artificial snow around trees and near building foundations to mimic deep snow drifts.
There is really no limit to the kinds of details you can add to your Christmas village scene.
How to Set Up a Nativity Scene

Nativity scenes and Christmas villages bear some common traits. They’re both popular elements of Christmas decorating and both can be arranged multiple ways.
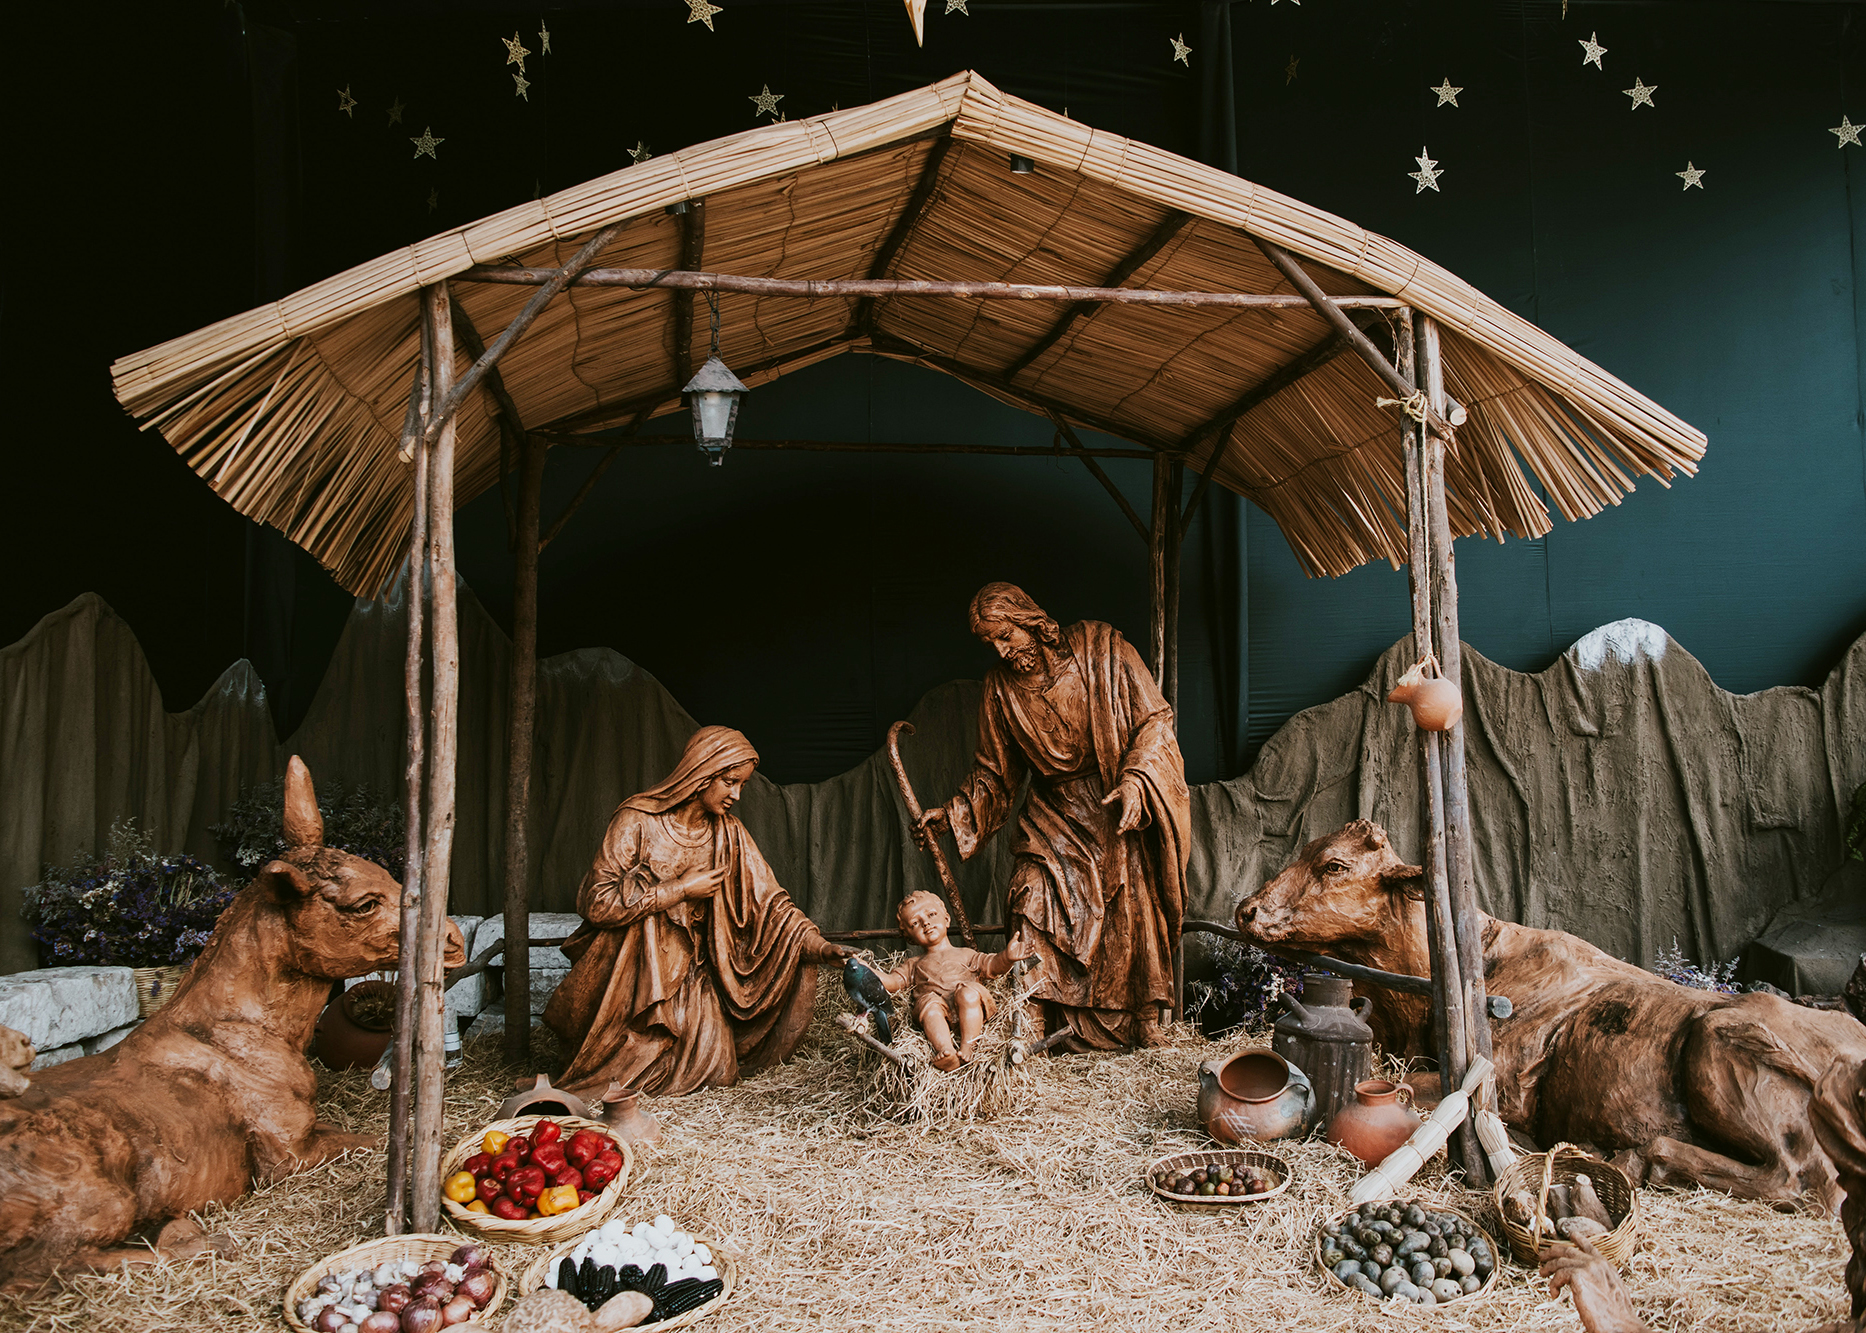
A basic nativity set includes three main figures: the Baby Jesus, Mary and Joseph. A stable building may or may not be part of the nativity scene. Some nativity scenes may feature Wise Men, angels, shepherds and livestock.
Planning Your Nativity Scene
The universal theme of the nativity scene, with the Holy Family at the center, makes the basic layout of a Christmas nativity scene fairly straightforward. The more figures included with your nativity scene set, the more freedom you have to explore creative arrangements.
Take special care if your nativity figures are old or made of fragile materials like glass or ceramic. You’ll want to be sure they are placed where they can’t be knocked over and broken.
If you have small children, consider setting up your Christmas manger scene as a family. This natural opportunity to share the wonder of the Christmas story can become a treasured family tradition.
Setting up a Christmas village or nativity scene is a favorite part of the holidays for many. With a little planning and forethought, you can create a beautiful layout to admire and enjoy throughout the Christmas season.